
Removals · Guide
How to pack a kitchen for moving house
There’s often more in the kitchen cupboards than you realise until you start emptying them. Alongside the everyday mugs and plates, you’ve got heavy cookware, small appliances and food to organise. Here’s how to pack your kitchen in stages, protect the breakables and keep enough essentials handy to use before and after the move.
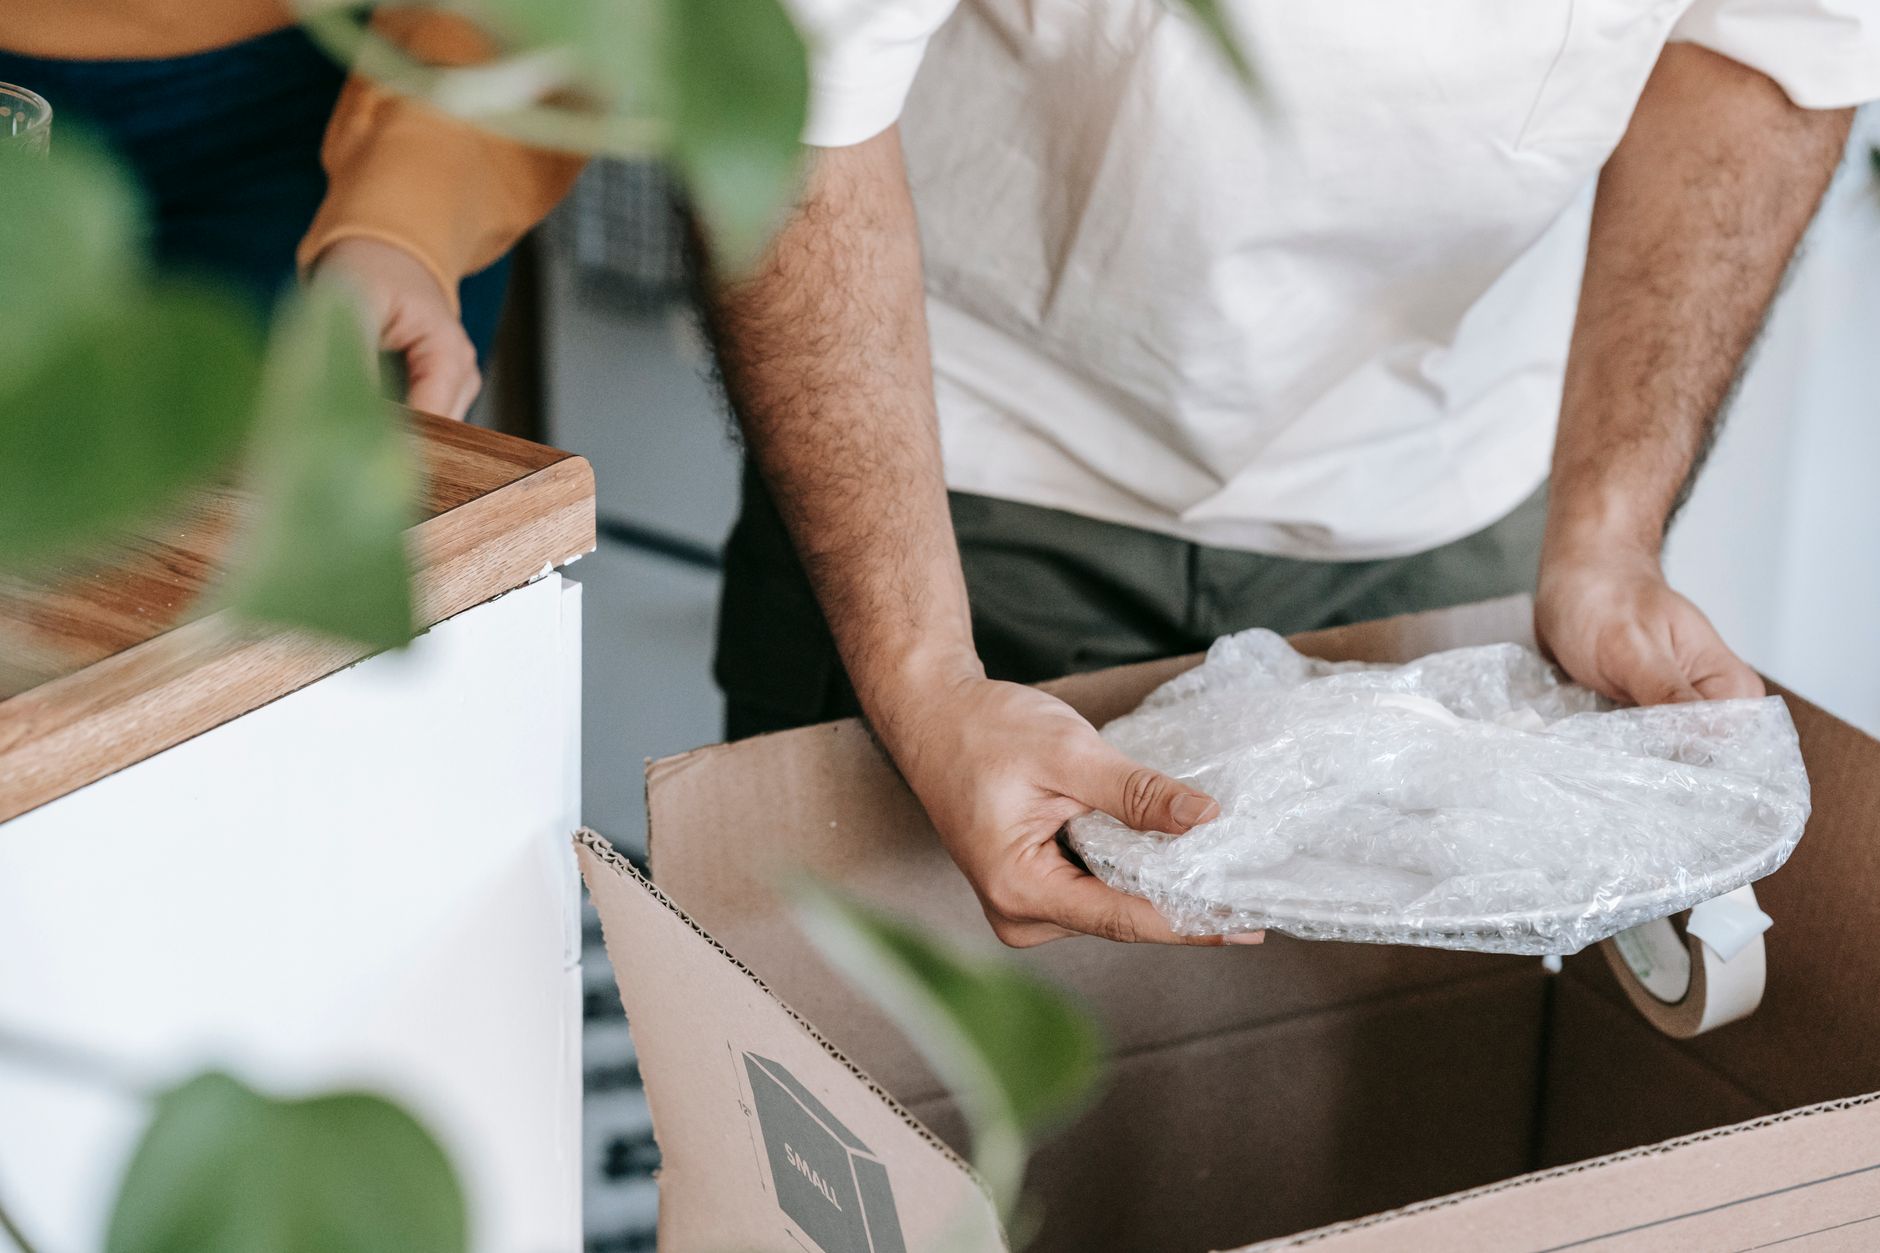
Kitchen items need different packing
Group similar kitchen items before boxing them up, so you can give each group the protection it needs. A heavy casserole dish and a wine glass can both be fragile, but putting them together makes protection harder.
Clear a stable work surface for wrapping and check that everything is clean and dry. You can start with serving dishes, spare mugs and equipment you rarely use, while leaving a small set of everyday items available.
| Item | Packing approach | Watch out for |
|---|---|---|
| Plates and bowls | Wrap individually and cushion inside a strong box. | Heavy stacks and unprotected rims. |
| Glasses and mugs | Protect each piece and separate it from its neighbours. | Exposed handles, stems and glass touching glass. |
| Pots and pans | Cushion surfaces between pieces; pack glass lids separately. | Scratched coatings and a box too heavy to carry. |
| Knives | Cover blades securely and pack in a clearly marked container. | Loose blades or points that can pierce wrapping. |
| Small appliances | Dry, protect and support the appliance, with loose parts secured. | Water left inside and accessories knocking against it. |
For choosing suitable sizes and supplies, see where to buy moving boxes.
For comparing cushioning materials and roll sizes, see where to buy bubble wrap for moving.
Packing plates, bowls and glasses
Wrap each piece of crockery separately and cushion it inside the box so bare surfaces cannot knock together. For plates, packing on their edges avoids building a heavy flat stack.
Prepare the box
Use a sound, strong box that suits the size and weight of the crockery. Secure the base with packing tape, then add cushioning across the bottom and around the walls.
Wrap each plate
Place a plate on clean packing paper and fold the paper around it, covering the rim and both faces. Use extra suitable protection for delicate or decorative pieces. Wrap bowls individually too.
Support plates on their edges
Arrange wrapped plates upright on their edges, with cushioning between them and the box walls. Pack bowls in small, supported groups with protection between each one. Avoid forcing pieces into a gap or placing heavy cookware on top.
Cushion, close and label
Fill remaining gaps with suitable cushioning so the pieces cannot move freely. Add protection above them, check that the flaps close flat and seal the box. Label it “Kitchen, crockery, fragile” on the top and side.
Bournes’ plate-packing demonstration shows how paper-wrapped plates can be supported on their sides inside a box.
Glasses, mugs and stemware
Wrap each glass or mug separately, protecting its base and rim as well as any handle. For wine glasses, cushion the stem carefully without putting pressure on it. Use a suitable glassware box with well-fitting dividers where possible, and keep heavy items away from the glassware.
Support the wrapped pieces in the box with enough cushioning to stop movement. Don’t push wrapping tightly into a thin glass or force a stemmed glass into a compartment. Valuable crystal or unusually delicate pieces may need specialist packing advice.
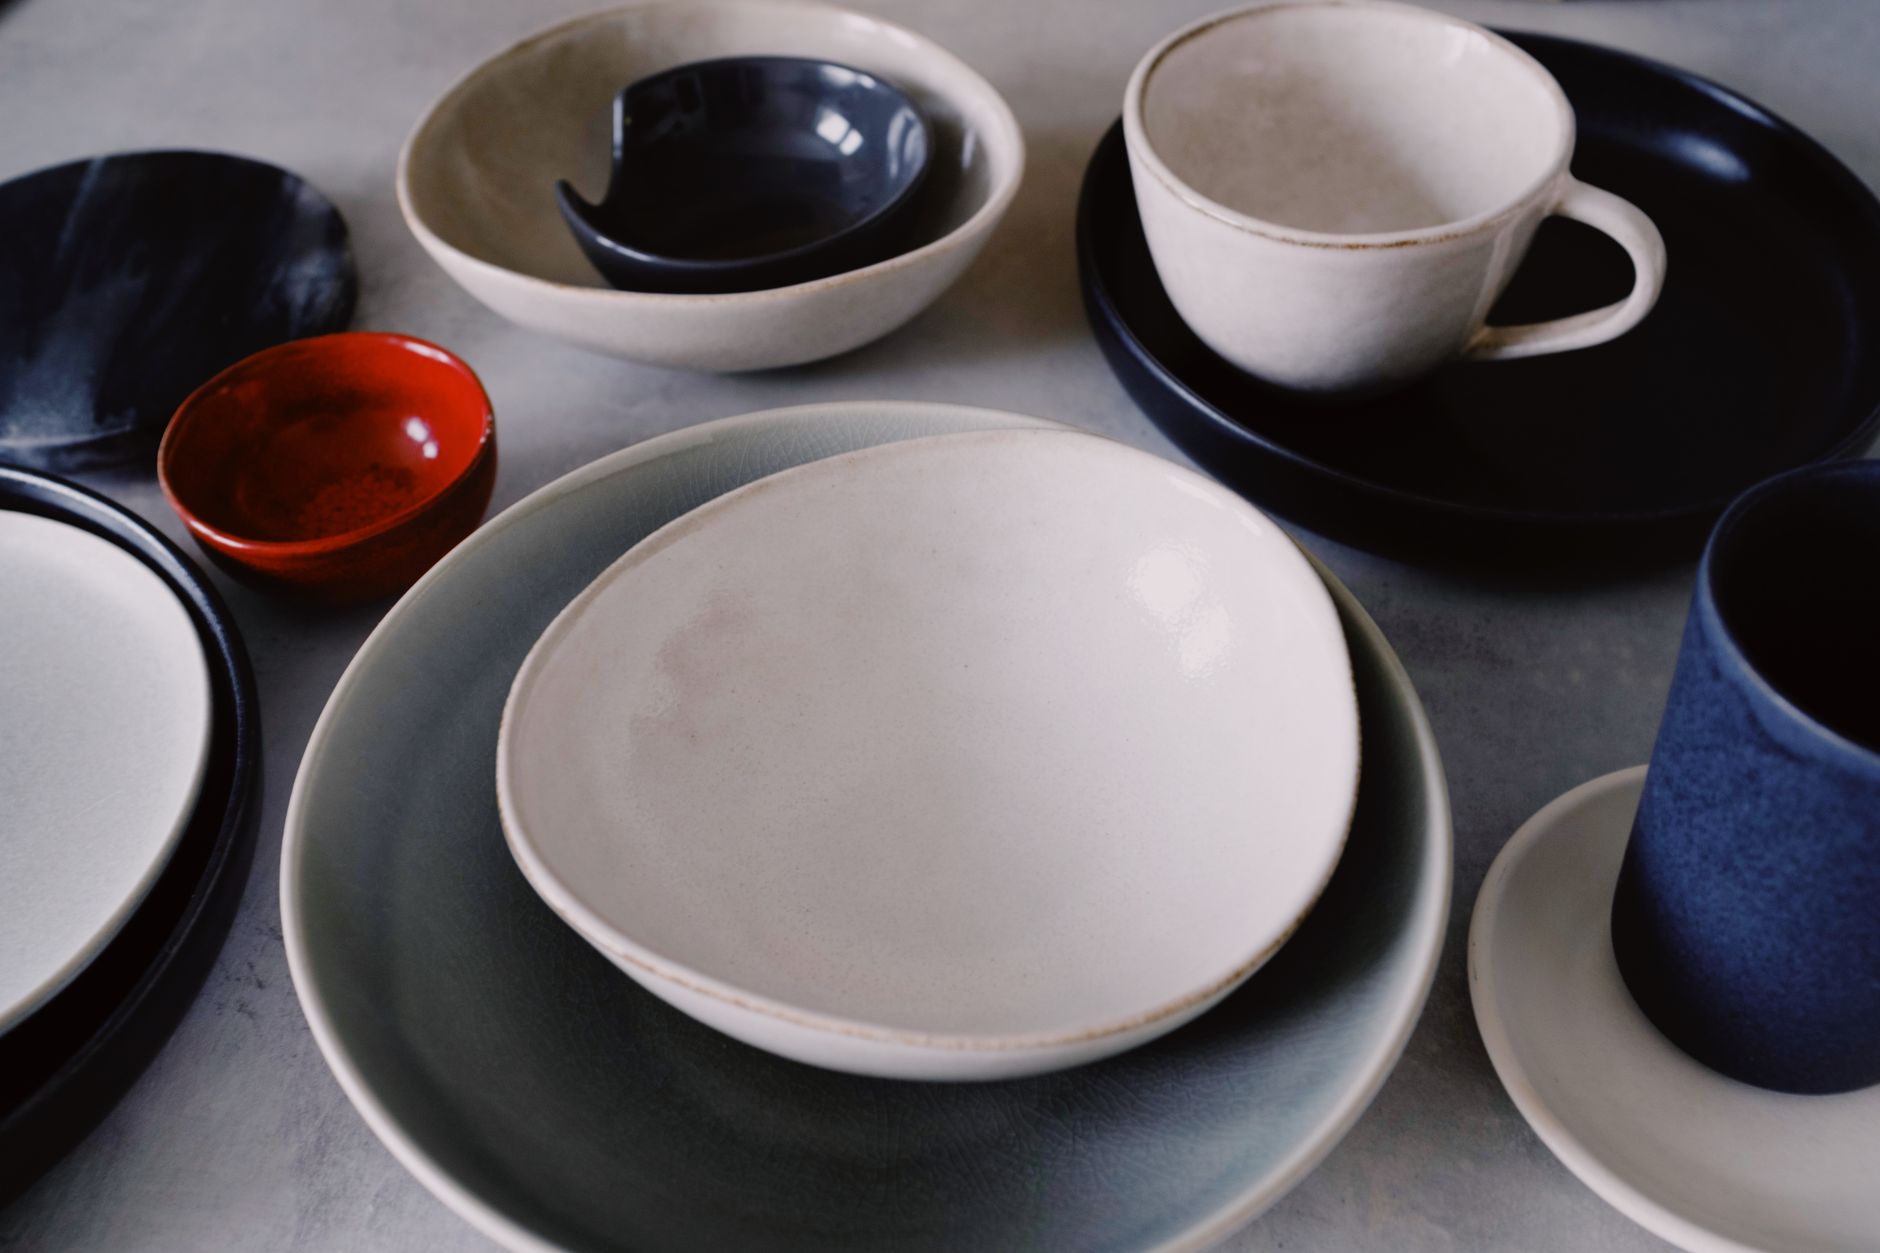
Pots, pans and sharp utensils
Protect cookware from knocks and scratches, and keep sharp utensils in their own secure container. A box of pans can become heavy long before it looks full.
Cookware and glass lids
Nest suitable pans only if they fit without force, with clean paper or a suitable soft layer between surfaces. Follow the maker’s care advice for non-stick or enamel finishes.
Divide heavy cast-iron pieces between suitable boxes. Keep handles supported and avoid using the gaps around a heavy pan for unprotected mugs or glasses.
Knives and other sharp tools
Use secure blade guards or strong protective sleeves that cover the cutting edge and tip. If you use folded cardboard, it needs to be strong enough to resist punctures and secured around the blade without leaving the point exposed.
Place protected knives in a sound container, stop them shifting and mark it “Kitchen knives, sharp”. Keep it separate from loose cutlery, and open it carefully when unpacking.
Our guide to packing moving boxes covers base sealing, cushioning and checking the finished load.
Preparing kitchen appliances
Follow the appliance maker’s instructions for cleaning, packing and transport. Small countertop appliances and plumbed-in kitchen appliances need different preparation.
Kettles, toasters and countertop equipment
Unplug small appliances and let them cool. Empty water tanks, remove crumbs or food where appropriate, and let cleaned parts dry fully. Protect detachable jugs, bowls and trays separately, keeping labelled accessories with the appliance.
The original packaging is useful if it is still sound and complete. Otherwise, use a suitable box with protection around the appliance and its loose parts. Secure cables without pulling them tight or taping directly onto a delicate finish.
Fridges, freezers, cookers and dishwashers
Confirm which large appliances are coming with you, then check the manual for emptying, defrosting, draining, transport position and restarting. Allow enough time for that preparation before collection. Beko’s manual finder, for example, lets you look up instructions for your model.
Food, bottles and cleaning products
Sort food separately from kitchenware, and make a plan for anything that needs refrigeration. Use up what you can before the move rather than packing everything from the fridge at the last minute.
For dry cupboard food, check the packaging and storage instructions. Keep opened packets securely contained, protect glass jars individually and support closed bottles upright, away from electrical items and clean textiles. Ask Porta about any food or liquids you intend to include in the collected load.
Ordinary moving boxes do not keep chilled or frozen food at a safe temperature. Follow the Food Standards Agency’s storage guidance and arrange suitable transport if you need to take it with you. Packing the food separately does not, by itself, keep it cold.
Check the labels on cleaning products, aerosols and other items with hazard warnings, and ask Porta before including them. Keep them in their original containers and apart from food. Don’t mix products or decant them into unlabelled bottles.
The kitchen box to open first
Keep a small, clearly marked kitchen set for the last days at your old home and the first evening in your new one. Once you’ve finished using it, pack the pieces with the same care as the rest of the kitchen.
Make this box easy to identify and tell your moving partner which it is. Keep anything you need during the journey with you. The moving house checklist covers paperwork, medicines and the other essentials to keep accessible.
Before collection, check the back of each cupboard, the drawers and any appliance accessories you put aside. Your kitchen belongings should be securely packed and ready to move. For the furniture and boxes across your home, Porta’s House Removals service connects you with a vetted independent moving partner and provides a fixed custom quote.